A dryer that suddenly takes two or three cycles to dry a normal load is not just frustrating. It is often warning you that lint is restricting airflow. In Florida homes, where laundry rooms can be warm and humid year-round, that buildup can turn into a fire concern, wasted electricity, and extra wear on an appliance your family uses every week.
Knowing how to clean dryer lint means looking beyond the lint screen. The screen is the first line of defense, but lint also collects below it, around the dryer, inside the transition duct, and farther down the vent line that exits your home. A little routine attention makes a real difference. When the vent system is clogged or difficult to reach, a professional cleaning is the safer next step.
How to clean dryer lint from the screen
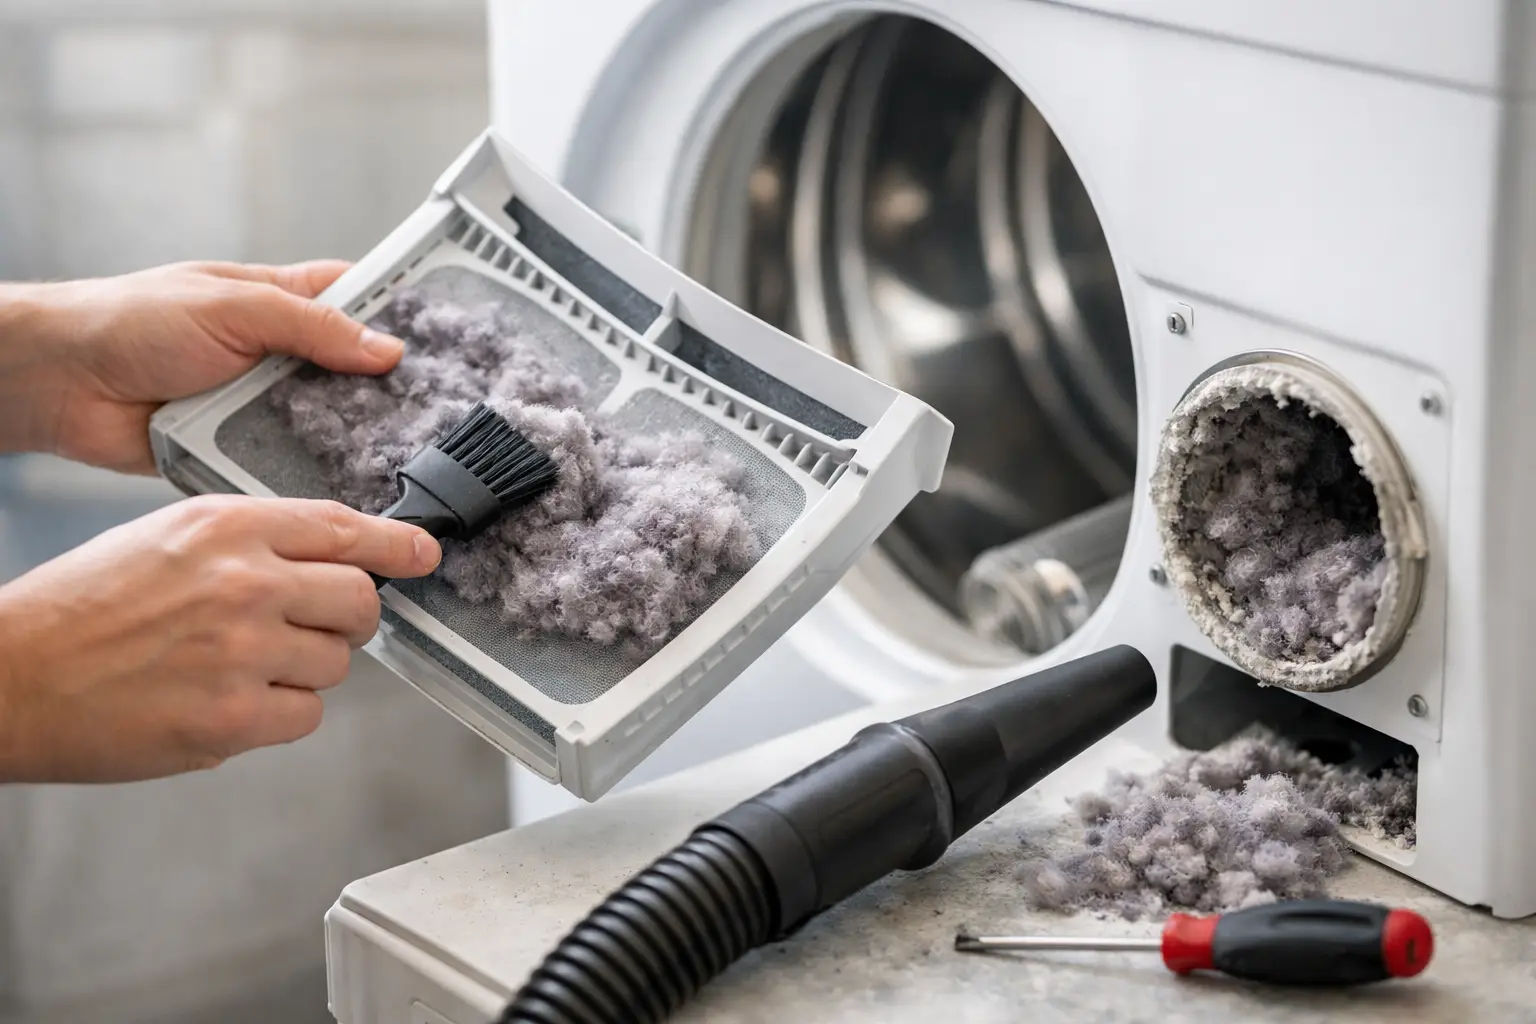
Clean the lint screen before every load. Pull it out, remove the visible lint with your fingers, and throw the lint away in a trash can. Never leave lint on top of the dryer, where it can be pushed behind the machine or sit near heat-producing components.
Once a month, wash the screen with warm water and a small amount of dish soap. Fabric softener sheets and dryer sheets can leave behind a nearly invisible film that blocks the screen’s mesh. Even when the screen looks clean, that residue can reduce airflow and leave your clothes damp at the end of a cycle.
Use a soft brush, rinse both sides thoroughly, and let the screen dry completely before reinstalling it. Do not run the dryer without the lint screen in place. It is designed to capture fibers before they enter the vent system, not to be an optional accessory.
Clean lint below the dryer trap
The narrow slot where the lint screen sits can hold a surprising amount of compacted lint. Turn the dryer off and unplug it first. If you have a gas dryer, also avoid moving or disconnecting the gas line yourself.
Use a dryer lint brush or a vacuum attachment made for narrow spaces to reach into the lint-trap housing. Work slowly. The goal is to pull lint upward and out, not push it deeper into the appliance. A vacuum with a crevice tool can collect loose debris from the opening and the floor around the dryer.
Do not insert wire hangers, sharp tools, or anything that can damage internal parts. It may feel tempting to improvise when you see buildup, but damage inside the dryer can create a more expensive problem than the lint itself.
Clean around and behind the dryer
At least every few months, carefully pull the dryer away from the wall and vacuum the floor, sides, and back of the appliance. Lint drifts into corners, gathers around the power cord, and can accumulate near the vent connection.
This is also a good time to check whether the dryer is crushing its vent duct against the wall. A sharply bent, kinked, or flattened duct restricts airflow even if it is relatively clean. The dryer needs a short, smooth path to the wall connection whenever possible.
If your dryer has a flexible white vinyl or thin foil duct, consider having it replaced with a properly installed rigid or semi-rigid metal transition duct. Flexible materials can sag, tear, trap lint, and are not the best choice for handling dryer heat. The exact setup depends on your appliance location and vent route, so a qualified technician can help identify the right correction.
Check the outdoor dryer vent cover
Your dryer vent does not end at the laundry room wall. It travels outside, where a vent hood or flap releases hot, moist air. With the dryer running, step outside and look at the exterior vent. You should feel a steady flow of warm air, and the flap should open freely.
Remove any lint, leaves, mulch, or insect nesting material around the cover. In Tampa Bay and Central Florida, moisture, windblown debris, and landscaping can affect exterior vents more quickly than homeowners expect. A blocked exterior hood can send heat and humidity back into the line, slowing drying and encouraging more lint to settle.
Do not cover the exterior opening with screening that traps lint. The vent hood needs to keep pests out while still allowing air to escape. If the flap is stuck, missing, damaged, or barely opening during a cycle, it should be inspected and repaired.
When cleaning the lint screen is not enough
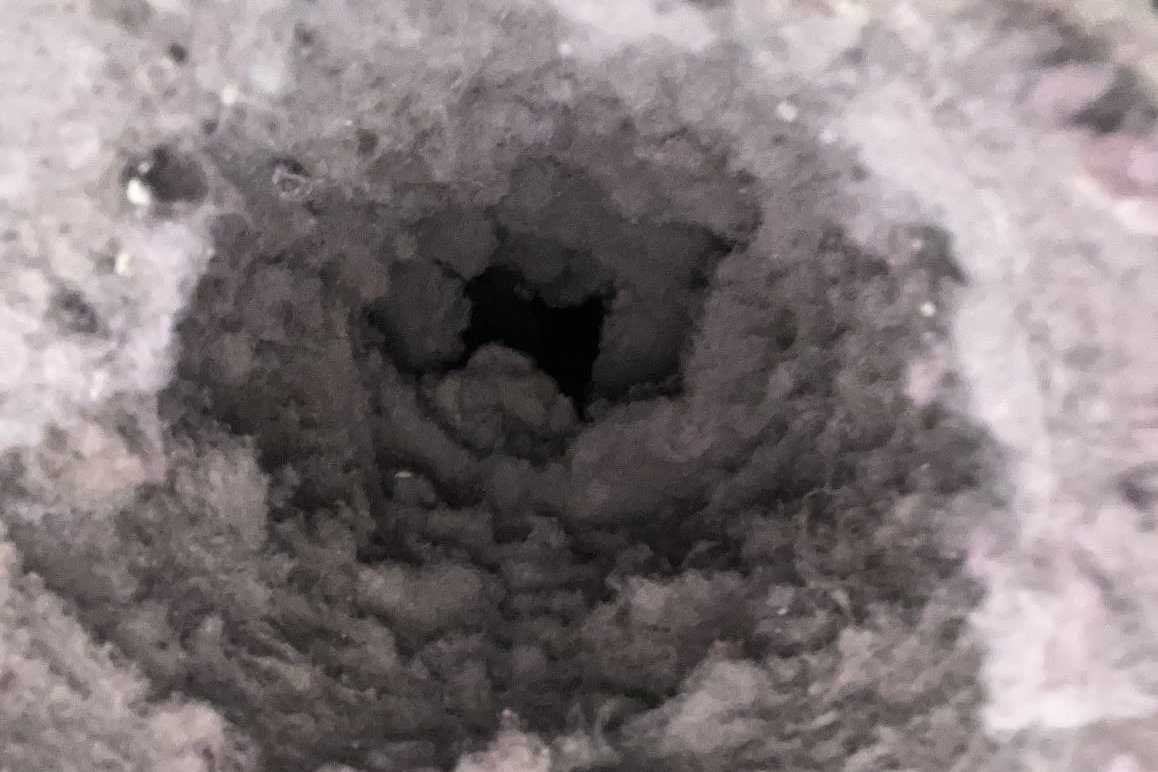
A clean lint screen does not prove that the full dryer vent is clear. Lint that passes the screen can collect in elbows, long horizontal runs, roof exits, and wall cavities. The farther the vent travels, the more opportunities there are for buildup.
Watch for warning signs such as clothes that take longer to dry, a dryer that feels unusually hot, a burning or musty odor, visible lint behind the machine, or very weak airflow outside. You may also notice the laundry room getting hot and humid during a normal cycle. These signs do not always mean the vent is clogged, but they do mean the system deserves attention.
Stop using the dryer and arrange an inspection promptly if you smell burning, see smoke, or notice an unusually hot appliance. Do not assume another cycle will fix the issue. Continued operation can make a restricted vent more dangerous.
How often should you clean dryer lint?
The lint screen needs attention before every load, while the lint-trap housing and space behind the dryer should be cleaned every few months. For the full dryer vent, many homes benefit from professional service about once a year.
That schedule can change based on how your household uses the dryer. A large family, frequent towel and bedding loads, pet hair, long vent runs, or a dryer that vents through the roof may need more frequent cleaning. Commercial laundry equipment and shared laundry rooms also need a more structured maintenance plan because of their heavier use.
There is a trade-off with do-it-yourself vent kits. A homeowner can sometimes clean a short, straight, accessible vent run successfully. But long runs, multiple turns, roof terminations, and vents hidden in walls are different. A brush can break apart lint without fully removing it, or it can become stuck. Professional equipment is designed to agitate and remove debris while verifying that airflow has been restored.
A safer dryer vent cleaning process
A thorough service should be more than someone brushing the outside vent cover. The dryer is disconnected carefully, the transition duct is checked, and the vent line is mechanically cleaned from the appropriate access points. The technician should remove lint rather than simply push it farther through the line.
After cleaning, airflow and vent operation should be verified. This matters because a clear-looking exterior opening does not always reveal a hidden restriction. A professional should also explain what was found, point out damaged ducting or unsafe connections, and give practical recommendations for keeping the system clear.
For homeowners who want clear answers, The Ductors provides dryer vent cleaning with an inspection-first approach, deep contaminant removal, and post-service verification. That gives you a clearer picture of whether the issue was simple lint buildup, damaged ducting, or a vent route that needs correction.
Small habits that keep lint from building up fast
Do not overload the dryer. Oversized loads shed more fibers, circulate less air, and can leave clothes damp enough to require another cycle. Shake out towels, blankets, and pet bedding before drying them, then clean the lint screen immediately afterward.
Keep the laundry area free of stored boxes, chemicals, and loose items around the dryer. You need clear access to the machine, and the dryer needs room to release heat safely. If you notice recurring dampness, a hot laundry room, or drying times that keep getting longer, treat it as a maintenance signal rather than an inconvenience to work around.
A few minutes spent cleaning lint can protect your dryer, reduce unnecessary energy use, and help keep your home safer. When the buildup is beyond reach or airflow still feels weak after basic cleaning, having the full vent professionally inspected is the practical way to get back to faster, safer laundry days.